Layers
What is a layer ?
- In the program you can stack, merge or define layers when creating a digital image. Layers can be partially obscured allowing portions of images within a layer to be hidden or shown in a translucent manner within another image, or you can use layers to combine two or more images into a single digital image. For the purpose of editing, working with layers allows you to go back and make changes within a layer as you work.
The layers palette shows you the stacking order of the various layers in your document along with a thumbnail to help you identify each layer at a glance. As mentioned previously, only a single layer can be edited at one time. The active layer will be highlighted in your layers palette.In addition, the active layer will have a paintbrush symbol in the small square just left of the thumbnail. Double-clicking on a layer in the palette gives you access to layer styles, as well as some advanced blending options that we will not be discussing in this course. Unlike previous versions, renaming a layer in Photoshop requires you to Alt/Option double click on the layer name.
You'll also notice a small eye icon  for each layer. Clicking on this icon lets you toggle the layer visibility on and off.
for each layer. Clicking on this icon lets you toggle the layer visibility on and off. To link layers to the currently active layer, you would click in the second square (left of the thumbnail) in the layers palette. A link icon will appear in the space to indicate that the layers are linked.
Below the blend mode and opacity controls, you have a series of checkboxes for locking various editing functions. From left to right the lock can be applied to:
When any of the locks are activated, you will see a small lock icon appear to the right of the layer in the layers palette. When all locks are activated, the lock icon will turn solid. You'll notice the background layer always has its transparency and position locked. This cannot be changed without promoting the background to a layer.
 transparency,
 image pixels,
 position, and
 all of the above.

- The transparency lock allows you to edit on a layer without changing the transparency level of the pixels in that layer.
- The image pixels lock disables all painting tools for that layer. You can still move and transform the layer contents, adjust opacity settings, and change blend modes, but you cannot paint directly on it.
- The position lock is self explanatory. You can't move or transform a layer that has its position locked, but you can still paint on it, apply layer effects, and change blend modes.
- And if you hadn't guessed already, the last lock is the same as selecting all three locks.
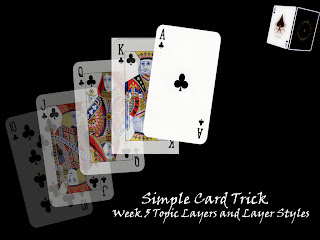
A picture that i have edited during the class
No comments:
Post a Comment